A good QR card explains why it is there and takes guests to the right collection. This guide covers the steps between choosing your guest link and approving the printed card. Buying a separate print product is not automatically necessary.
Choose the destination before designing
Use the guest-access link or QR code for your own gallery. A public demo shows an example; it is not your wedding's collection. A host management link does not belong on the tables either. Check the destination address and gallery name first.
If you make several design drafts, note which guest link is final. Keep table cards and digital messages pointing to the same collection. A QR code is simply a route to an address: by itself it does not create a gallery or ensure that a photo has uploaded.
Ready-to-use card wording
Our day, through your eyes
Captured a lovely moment? Scan the QR code and share a few favourite photos in our wedding gallery. No app download for guests. Joining in is entirely optional. Thank you for sharing your memories with us!
Add a readable backup address beneath the code if it is practical to type. Only print an address you have checked. “No app download” describes the Foreverpix guest workflow; check the actual requirements first if you use a different service.
Keep the code separate from decoration
Use strong contrast on a plain, light background. Do not cover the code's squares with flowers, lettering or logos, and do not crop away its clear border. DENSO WAVE specifies a quiet zone of four modules around a regular QR code; one module is a small square in the pattern. Read the developer's guidance on the quiet zone.
For a first table-card design, try a code around three to four centimetres wide. This is a practical starting point, not a technical minimum or scanning guarantee. The encoded data, print quality, light and scanning distance all affect the finished result.
Approve one printed copy first
- Print one card at its final size on the material you plan to use.
- Position it as it will stand or lie on the table.
- Try an iPhone and an Android phone, if available, under realistic lighting.
- Check the destination and gallery name. Follow the guest route rather than relying on an already-open host screen.
- Ask a second person, with their agreement, to try a small photo contribution.
- Only then approve the full batch. Recheck scanning after any change to the QR image.
Place cards where guests can act on them
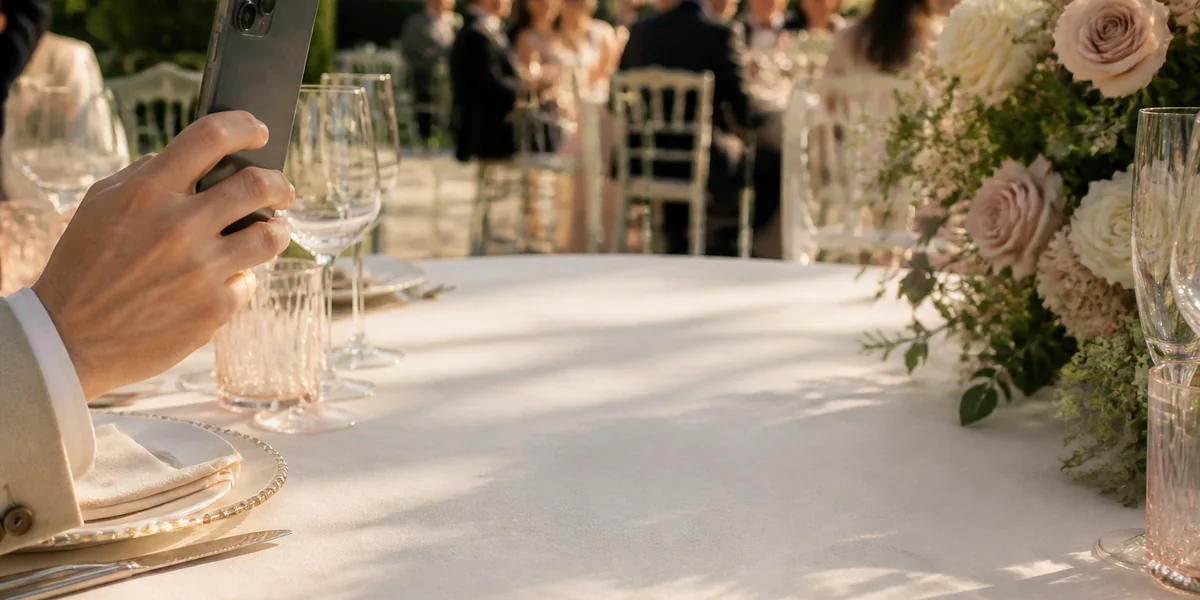
Choose places where people have a moment and a free hand, such as the tables or an accessible information point. A card behind tall flowers, in candle glare or only by the exit may be missed. Look from a seated guest's height and agree the placement with the venue.
Keep sharing optional and the explanation brief. Guests should not feel asked to record the whole day. A friendly introduction and, if useful, a later reminder are enough. With poor reception, they can keep a selection and use the link after the celebration.
Design your own or use a print tool
You can put your existing guest QR code into your own design. For additional options, see the QR table-tent page and check what is included. The current Plus package includes the QR print studio. A separately ordered print product and a gallery upgrade are not automatically the same purchase; check each offer on its own terms.
Plan your next step and see the guest experience
- 12 wedding guest photo challenges that keep participation optional
- Planning a QR photo gallery for 50, 100 or 200 guests
View the live demo · Start your own gallery for free.
Foreverpix editorial team. Editorial review: 16 September 2026. We provide a QR photo gallery; worked examples are planning aids, not measured results.